In order to start the journey to integrate FrillPay’s payment gateway into your website begins with setting up your FrillPay merchant account. This pivotal step lays the foundation for a secure and efficient online payment system. Let’s navigate through the essential steps, ensuring a seamless experience in establishing your FrillPay merchant account.
Step-by-Step Process to Get a FrillPay Merchant Account
To get a FrillPay merchant account, you need to follow the steps below, it’s so easy and quick!
Initiating the Journey:
The first step involves initiating the registration process on the FrillPay platform. Head to our website and look for the registration section to kickstart your journey.
Application Submission:
Provide the required information in the registration form, including your company details and relevant contact information. This step sets the stage for your merchant account creation.
Things to keep in mind, before you submit this form:
- Merchant Name: The name you wish to be referred to.
- Owner First & Last Name: Later, you will be required to upload either the ‘Identity Card,’ ‘Passport,’ or ‘Driving License’ to confirm the authenticity of the user, as the wallet will be generated with the provided details.
- Owner Email: It will be used for creating your FrillPay wallet to collect payments.
- Business Name: It must be the same as registered on your official business certificate.
- Business Type: Select the nature of your business.
- Contact Person Name/Number/Email: Used for communication purposes (if needed).
- Country: Must match your business registration country.
- NTN/Tax ID: Provide if applicable.
- Website URL: Should match the website where our payment gateway will be deployed.
- Additional Details: Include developer details as it will enable our API team to provide comprehensive guidance throughout the integration process.
Documentation Submission:
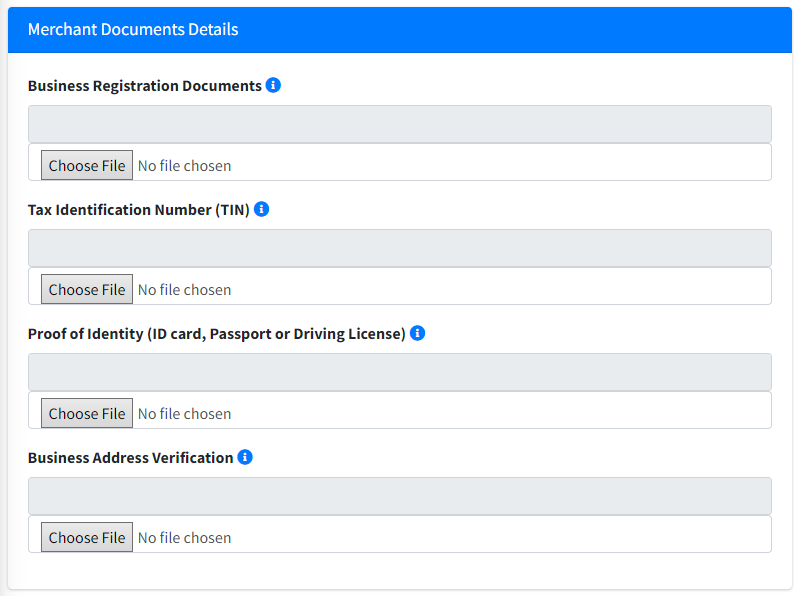
As part of the registration process, you’ll be prompted to submit necessary documentation here. This may includes the following:
- Business Registration Number (It’s the special number your business got when registering)
- Tax Identification Number [This number is for tax stuff related to your business] – (if any)
- Identification Verification (The Driving License, Identity Card or a Passport is accepted)
- Business Registration Documents (It is normally your business Registration Certificate)

Verification Process:
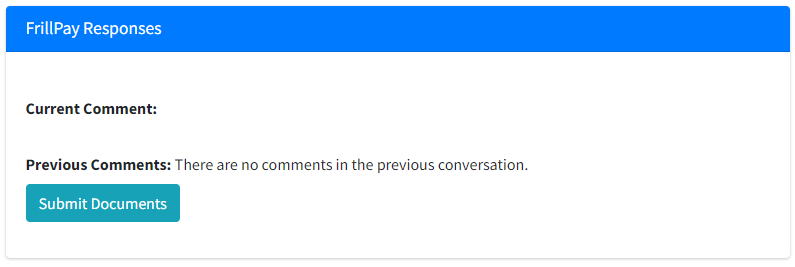
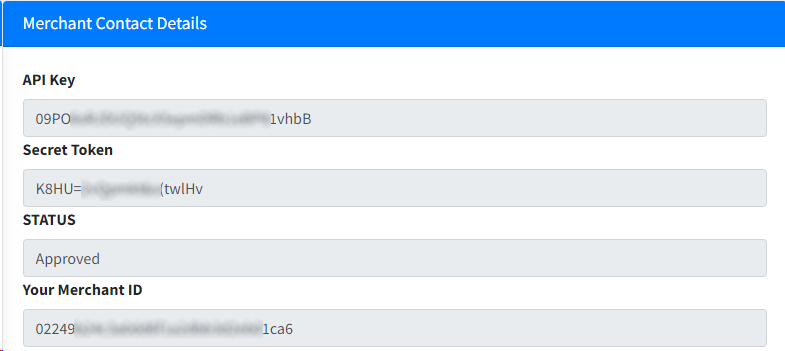
FrillPay follows a stringent verification process to align with regulatory and security standards. This thorough procedure may take up to 5 working days or more to finalize. You can track any updates related to the validation documents for your business in this section of your merchant back office. In the event of approval, you will receive the API & Token keys. Conversely, if there is a rejection, you will be informed of the reason along with guidance on how to submit the correct documents.

Additional Information:
As part of the process, FrillPay may request additional details to validate your business. This verification step is crucial to maintaining a secure and compliant payment environment.
How to obtain the API & Token keys?
Successful Registration:
Upon successful completion of the registration and verification process, your merchant account with FrillPay will be activated and you will receive the email that will contain the login details of your FrillPay wallet (this wallet will be used to collect funds from your customers upon their deposits).
API Key Generation:
Navigate to this section, where you’ll find the already generated API key for you to start accepting payments from your customers on your website using the FrillPay’s payment gateway.

Token Key Generation:
Alongside the API key, you’ll obtain a Token key as well. This secure encryption key ensures the confidentiality and secure transmission of data in every API request.
Remember to securely store and protect your API key and Token key. Treat them as sensitive information, as they provide access to your payment gateway integration. Avoid sharing them with unauthorized individuals or storing them in publicly accessible locations.
The journey to setting up your FrillPay merchant account is an empowering step towards seamless online transactions. Stay tuned for the next articles in this series, where we delve into API overviews, authentication methods, and step-by-step integration guides.
